Most Android smartphones and tablets already have dozens, if not hundreds, of settings for changing everything from notifications to system colors. There are more settings hidden in the developer options, which are mainly used to help create Android applications, but some of them can also come in handy in other situations.
While some features accessed through developer options can be helpful, it’s not always clear which option does what. While none of the features in the developer options will break your phone or tablet, enabling some of them can cause unexpected problems. That’s why we’re going to cover all the things you can do with developer options in this roundup so you can see exactly which setting does what.
Browse this article:
How to Access Developer Options on Android
Developer options are hidden by default, so you’ll need to enable them before accessing any available settings. The exact process here depends on the version of Android you’re running, and some device manufacturers (such as Samsung) move around where certain menus are.
The first step is to find the location of the build number in your device’s Settings app.You can usually find it by opening the Settings app on your device, then navigating to About Phone > Version Number. Android 8.0 and Android 8.1 at System > About Phone > Version Number. If you have a tablet, this is often called “About your tablet”.The location may vary with customized Android versions – for example, Samsung devices place it in About the phone (or tablet) > Software Information > Version Number.
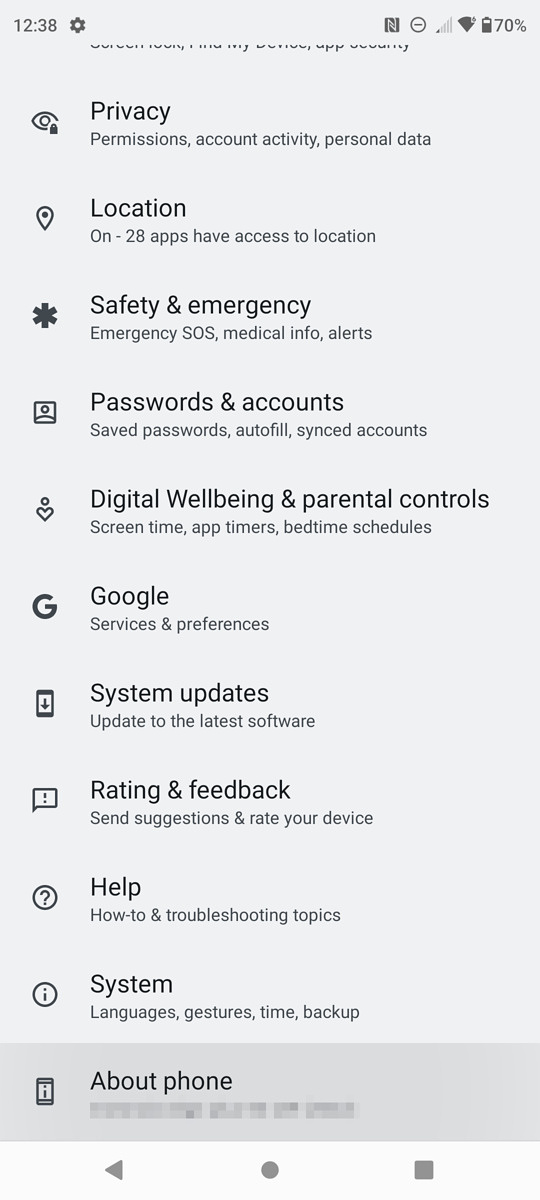
Open the Settings app and tap “About Phone”.
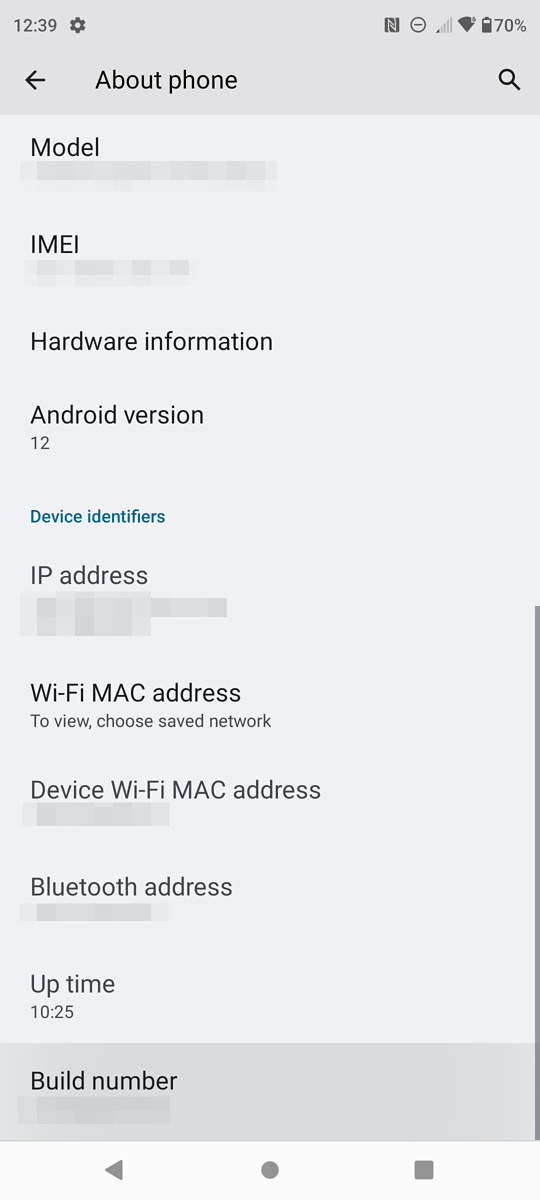
Scroll to the bottom and keep clicking on “Build Number”.
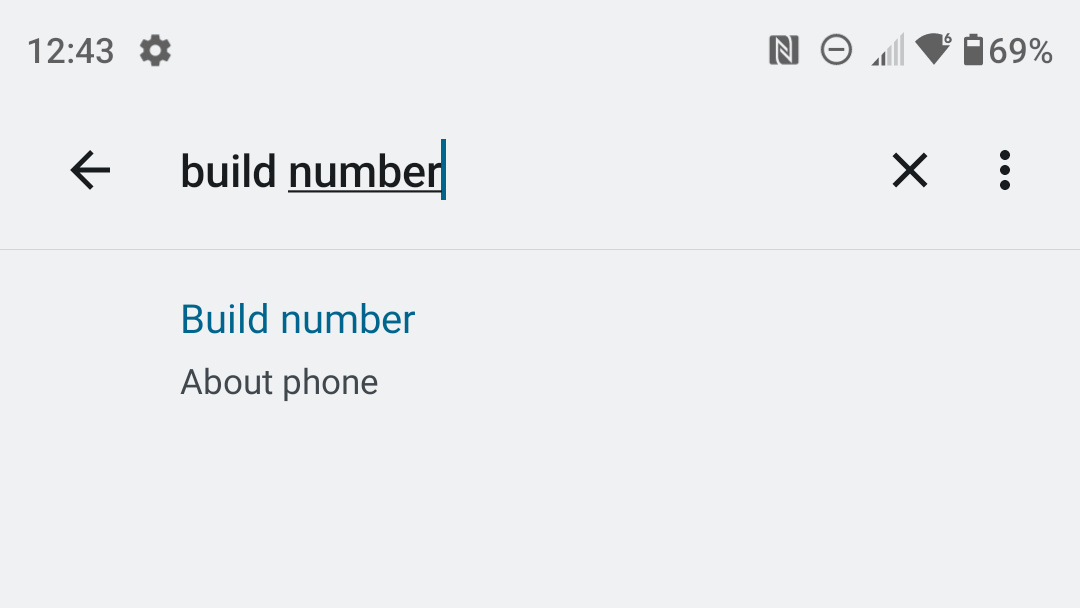
If you can’t find it, you may be using a device with a custom version of Android that moves where some settings are. If your Settings app has a search button (it’s usually near the top of the screen with a magnifying glass icon), press it and search for “build number”. If it appears, press it and it should be highlighted on the about page.
Once you finally reach the build number entry, you have to keep clicking on the build number until you see a confirmation message. Older devices just need to enable Developer Options now, while phones and tablets with newer versions of Android often require you to enter a lock screen password to confirm. Once done, you should see a popup that says “You are now a developer” as shown in the screenshot below.

This message should appear when developer options are enabled.
After that, you should now have a new developer options menu in the Settings app. Again, the exact location of the developer options menu depends on your Android version and the device manufacturer’s version. Some devices, like recent Samsung phones and tablets, place the developer options near the bottom of the main settings screen, while others move them to the system menu or elsewhere. If you have a search button in your Settings app, you can try tapping it and typing “developer options” to find the menu.
Explain each setting in developer options
We’ll cover each option in the Android Developer Options menu, and what they do. The exact order and location of these options may vary by device, with some manufacturers adding some of their own, which we’ll cover here. This list is also based on Android 12L/12.1 – future versions of Android may add or remove some of these options.
main options
memory: Tapping it opens a screen that shows how much RAM (Random Access Memory) your device is currently using, and an average based on 3-hour, 6-hour, 12-hour, or 1-day intervals. You can also view a list of apps on your phone, sorted by the amount of memory used. If you notice your device frequently reloads apps when switching between apps, it might be a good idea to check this screen and see if one app is behaving erratically.
error report: This allows you to generate bug reports for the Android system. If you submit a bug for Android or other core system components, Google may ask you to submit a bug report.
Error reporting handler: This changes which app handles bug reporting shortcuts on your device. There is usually no reason to change this.
Desktop Backup Password: This will create a backup password for backing up and restoring device applications and data using adb commands.
stay awake: Enabling this toggle will prevent your phone from going to sleep (screen off) while the device is charging. This is helpful for testing apps or other tasks where you don’t want to unlock your device over and over again over a period of time.
Enable Bluetooth HCI listening logs: This saves all Bluetooth HCI packets to a file stored at /sdcard/btsnoop_hci.log, which can then be opened with tools such as Wireshark to analyze and troubleshoot the Bluetooth data.
OEM unlock: This toggle needs to be enabled when unlocking the bootloader, but it’s not the only step in unlocking the bootloader. This option will not appear on all devices.
Run the service: This will open a screen that shows you all the apps and system processes running on your device, and how much memory each app is using. It’s similar to the memory screen mentioned above, but this one is more helpful for checking the current state of the device.
Image Color Mode: This will switch your device to use the sRGB color space, which was useful in the days before most devices used sRGB by default. Now, this switch usually has no effect.
WebView implementation: This changes which application is responsible for rendering embedded web content in an Android application. You shouldn’t touch it unless you have a good reason, or you might end up losing some app data (eg if the app uses local storage with a WebView).
Automatic system update: Turning off this feature prevents your device from applying system updates during a reboot if updates have already been downloaded. Some devices may override this behavior, or have another toggle elsewhere to handle the way system updates are handled.
DSU Loader: The DSU loader feature was introduced in Android 11 and allows you to temporarily boot to a generic system image.
System interface demonstration mode: The presentation mode is mainly for capturing clean screenshots without any distracting details. It shows the clock at 12:00, the battery is at 100%, and hides all notification icons.
Quick settings developer tile: This screen gives you the option to add some toggles from other developer options to your device’s quick settings (where the Wi-Fi and Bluetooth toggles are).
debugging
USB debugging: When this option is enabled, the Android Debug Bridge utility on your computer can communicate with your device over USB. ADB can be used to sideload applications, use commands to change system settings, grant application permissions, and more. However, some applications and games refuse to launch if USB debugging is enabled.
To revoke USB debugging authorization: Connecting to your device using ADB for the first time requires you to authorize the computer. This option revokes all ADB authorizations, which is helpful if you lose access to some computers you may have used in the past.
Wireless debugging: This allows you to use ADB over your local Wi-Fi network, not just USB. Wireless debugging has been available in Android for years, but Google only added this toggle in Android 11.
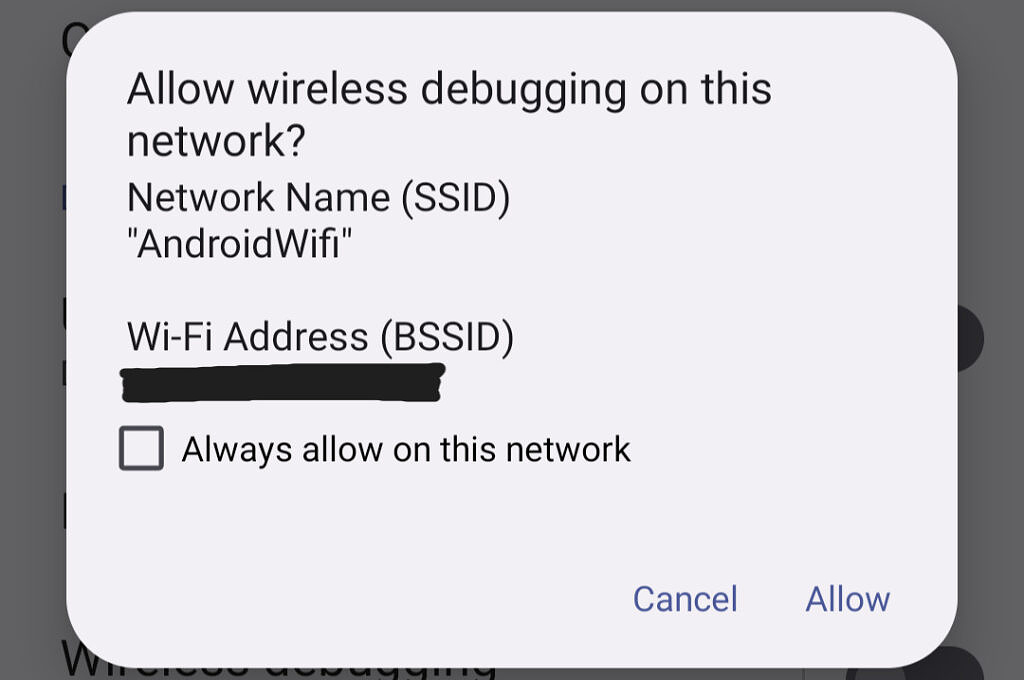
Wireless Debug Dialog
Disable ADB authorization timeout: As a security measure, most devices automatically revoke USB debugging authorization after 7 days of inactivity.This toggle turns the feature off – unless you have real Good reason.
Bug report shortcut: This adds a new button to the power menu for generating bug reports.
Enable verbose vendor logging: This includes more information in the bug report, possibly including private information.
Enable view property checking: This allows you to inspect the views in your app using the Layout Inspector in Android Studio, which can come in handy when developing your app.
Select Debug Application/Wait for Debugger: Normal error reporting and debugging do not always provide all the information needed to develop an application, especially when determining why an application crashes on startup. This option allows you to select a debugger application that can be initialized before a given application, and configure it using the “Wait for debugger” option.
Authenticate the application via USB: This checks apps sideloaded through ADB for harmful code, similar to how Google Play Protect is used to verify apps downloaded on your device. This can be handy if you download applications from the network on your computer and install them using ADB.
Verify the bytecode of the debuggable app: This is another security measure, enabled by default.
Logger buffer size: This changes the maximum file size of the logger (also known as “logcat”). Longer buffers can show older activity, while shorter buffers only contain logs of recent activity.
Feature flags: Google sometimes includes experimental features in Android Developer Previews and Betas, and that’s where they come in. Most devices running stable versions of Android have an empty feature flags menu.
Enable the GPU debug layer: This option allows Vulkan validation layers to be loaded from local device storage. Google has some documentation with more information.
Graphics Driver Preferences: This allows you to override the system graphics driver for a specific application with a different driver. Most devices don’t have other options for graphics drivers, but if you’re interested in the technical side, Esper has a blog post explaining how this works.
Application Compatibility Changes: This menu allows you to test each individual API change in the current Android version against older applications, which helps in the development process of updated applications. It’s only for debuggable applications, so it’s not very useful outside of software development.
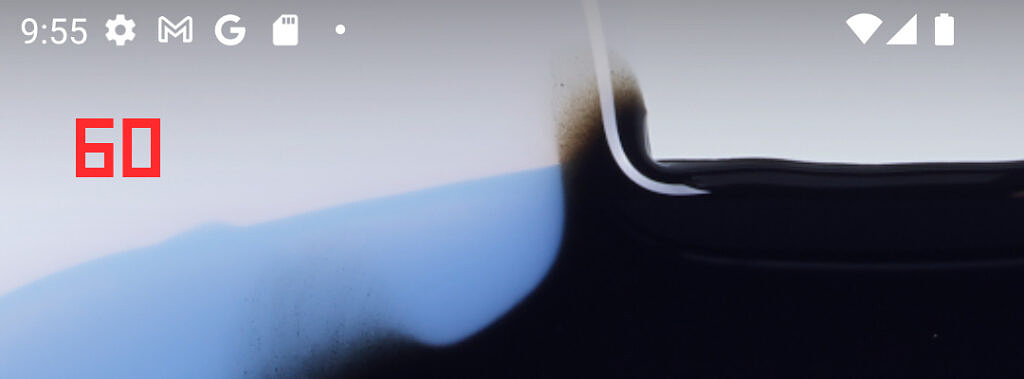
Refresh rate counter in Display Refresh Rate settings
Display refresh rate: This adds a Fraps-like counter at the top of the screen to check the current refresh rate, which is helpful for devices that dynamically switch between refresh rates.Remember, this is no Frame rate counter.
Allow screen overlay on settings: Modern versions of Android do not allow overlays to be run in the Settings app to prevent possible security risks. This setting overrides it – don’t flip it unless you have a good reason.
System tracking: This is a useful tool for performance optimization during application development.
networking
Wireless Display Certification: This setting is used to enable you to…


